Home » Vinyl cutter
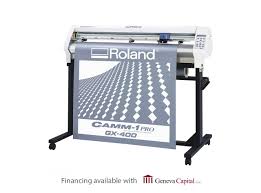
Vinyl cutter
How to make a file for a T-shirt print ?
- You choose an image (black and white), edit it in Inkscape (make quite a large file and put theimage in mirrorview !!) and save it via GIMP as .jpeg
- Then you go to the vinyl cutter
- You first put the right color roll in the machine – load roll, hang it straight and put the black "sliding wheels" correctly
- Enter
- Then you enter the dimensions (which you see on the machine) of the roll in the Cutstudio via Cutting > Properties (the PC is next to the cutting machine)
- You import your document(s)
- Per image: right mouse button: image outline – you play around with the density here and then: extract contour lines + ok
- You check whether the contours have been followed properly. If not, you can still try playing with the density or your file
- Then: Cutting + ok
- After this, you must remove the sticker material that should not be printed (best with tweezers)
- Finally, put your t-shirt under the heat press (max 180°C !!) and then your printed t-shirt is ready.


